A common and stressful issue for iPhone users is dealing with an iPhone won’t turn on or black screen problem, which can halt access to personal data, communication tools, and important apps. Whether the culprit is a minor software glitch, drained battery, damaged charging accessory, or hidden hardware fault, knowing the right troubleshooting steps can help resolve the issue without needing immediate professional repair, saving time and money.
Basic Troubleshooting for Minor Software or Battery Issues
Many cases of an iPhone won’t turn on or black screen stem from temporary software glitches that a simple force restart can fix. This process refreshes the device’s system without deleting any data, making it a first-line solution for most users.
Force Restart Your iPhone (Model-Specific Steps)
Different iPhone models require distinct button combinations to trigger a force restart, as Apple modified its hardware controls over time. For iPhone 8, iPhone SE (2nd generation or later), iPhone X, and all newer models: press and quickly release the volume up button, then press and quickly release the volume down button, then hold the side (power) button until the Apple logo appears on the screen. For iPhone 7 and iPhone 7 Plus: hold both the volume down button and the side button for at least 10 seconds until the Apple logo shows. For iPhone 6s or older models (including iPhone 6, 6s, and SE 1st generation), hold both the home button and the top (or side) button for 10 seconds to force a restart.
Check for a Drained Battery or Stuck Charge Cycle
If a force restart doesn’t work, your iPhone may have a fully drained battery, especially if it was left unused for an extended period. Connect your iPhone to a certified charging accessory for at least 15 minutes—sometimes a completely dead battery takes a few minutes to show a charging icon on the screen. Avoid using third-party, non-MFi (Made for iPhone) chargers here, as they may not deliver enough power to boot the device, leading to the iPhone won’t turn on or black screen issue.
Hardware and Charging Accessory Checks
Software issues are often the cause, but sometimes the problem lies with external hardware components or charging connections. Following these checks can rule out avoidable hardware-related issues:
- Use only Apple MFi-certified charging cables and power adapters to ensure compatibility and prevent damage to the iPhone’s charging port; non-certified accessories are a top cause of charging failures and a black screen.
- Inspect the Lightning or USB-C port on your iPhone for lint, dust, or debris that may block the charging pins. Gently clear the debris with a soft, non-metallic tool like a toothpick (avoid sharp objects) or use compressed air at a low pressure to avoid bending pins.
- Test your iPhone with a different power outlet and another MFi charging cable to confirm the original charger isn’t faulty, as a broken adapter can prevent the battery from charging properly.
Advanced Software Fixes for Persistent Black Screen Issues
If basic troubleshooting and charging checks don’t resolve the iPhone won’t turn on or black screen problem, you may need to use recovery or device firmware update (DFU) mode to fix corrupted system files that prevent the iPhone from booting.
Recovery Mode Restore via Computer (iTunes/Finder)
Recovery mode is designed to repair software issues without deep-level system changes, making it a safer option than DFU mode. Connect your iPhone to a computer with the latest version of iTunes (for Windows or macOS Mojave and older) or Finder (for macOS Catalina and newer). Follow the model-specific steps to enter recovery mode: for iPhone 8 and newer, press and release volume up, volume down, then hold the side button; for iPhone 7, hold volume down and side; for older models, hold home and side/top button. When the recovery mode screen appears on your computer, select "Update" to reinstall the iOS without deleting your data. If the "Update" option fails, select "Restore" (note: this will erase all data, so back up your iPhone if possible before proceeding).
DFU Mode for Critical Software Corruption
If recovery mode doesn’t work, DFU mode is the next step, as it resets the iPhone’s firmware to its original state, bypassing the iOS boot loader. This is a more advanced process and will erase all data on the device, so it should only be used as a last resort. To enter DFU mode: connect your iPhone to the computer, turn it off, then follow model-specific button combinations (hold side button for 3 seconds, then add volume down for 10 seconds, then release side button and hold volume down for 5 seconds for iPhone 7; adjust accordingly for other models). The screen will stay black, and your computer will detect the iPhone in DFU mode, allowing you to restore the iOS.
When to Seek Professional iPhone Repair Help
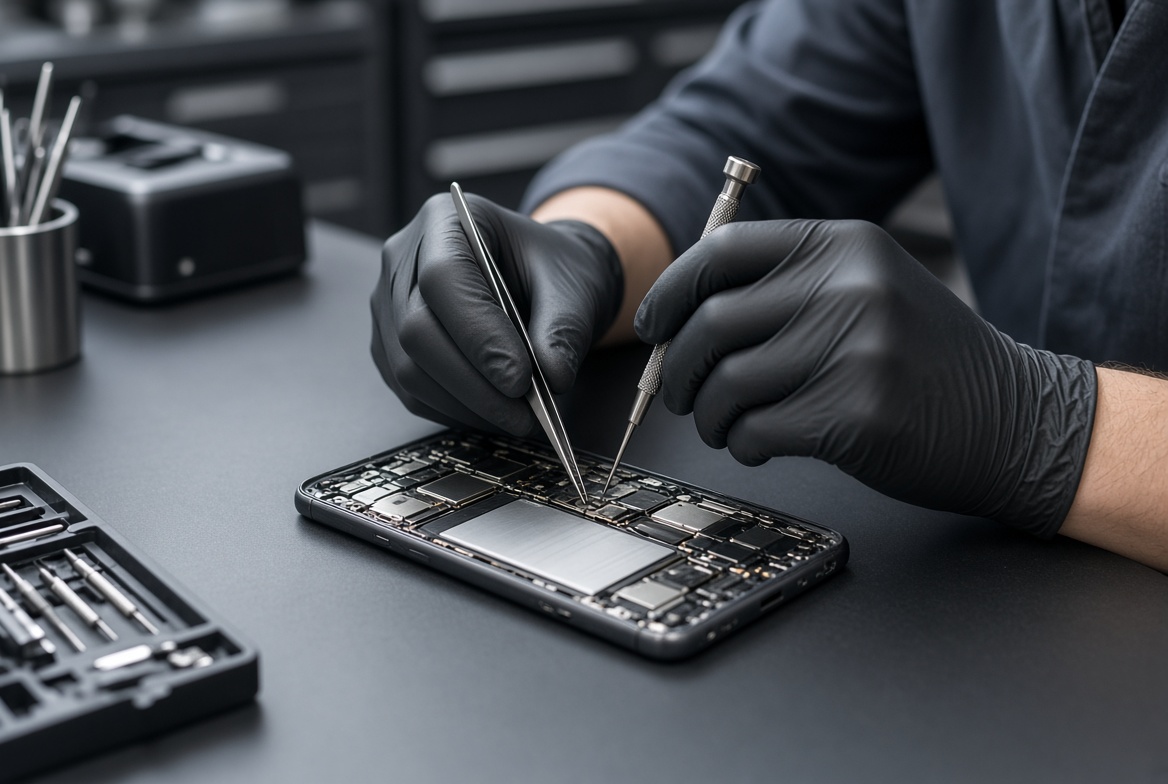
If you’ve tried all the above steps and still have an iPhone won’t turn on or black screen issue, the problem is likely hardware-related. Common hardware causes include a cracked display, damaged logic board, liquid exposure, or a faulty internal battery. Signs of hardware damage include a screen that shows faint lines, the iPhone overheating when charging, or physical damage to the device. In this case, contact Apple Support or an authorized Apple service provider to get a professional diagnosis—attempting to repair hardware yourself can void your warranty and cause further damage.
Resolving an iPhone won’t turn on or black screen issue starts with simple, safe steps like force restarting the device and checking charging accessories, then moves to advanced software fixes if basic steps fail. Always prioritize using MFi-certified chargers and avoiding DIY hardware repairs to protect your device. If all troubleshooting efforts don’t work, professional help is the best option to avoid permanent data loss or further damage to your iPhone.
Everything above about “iPhone won’t turn on or black screen” is originally written by our editorial team. Reproduction is strictly prohibited.