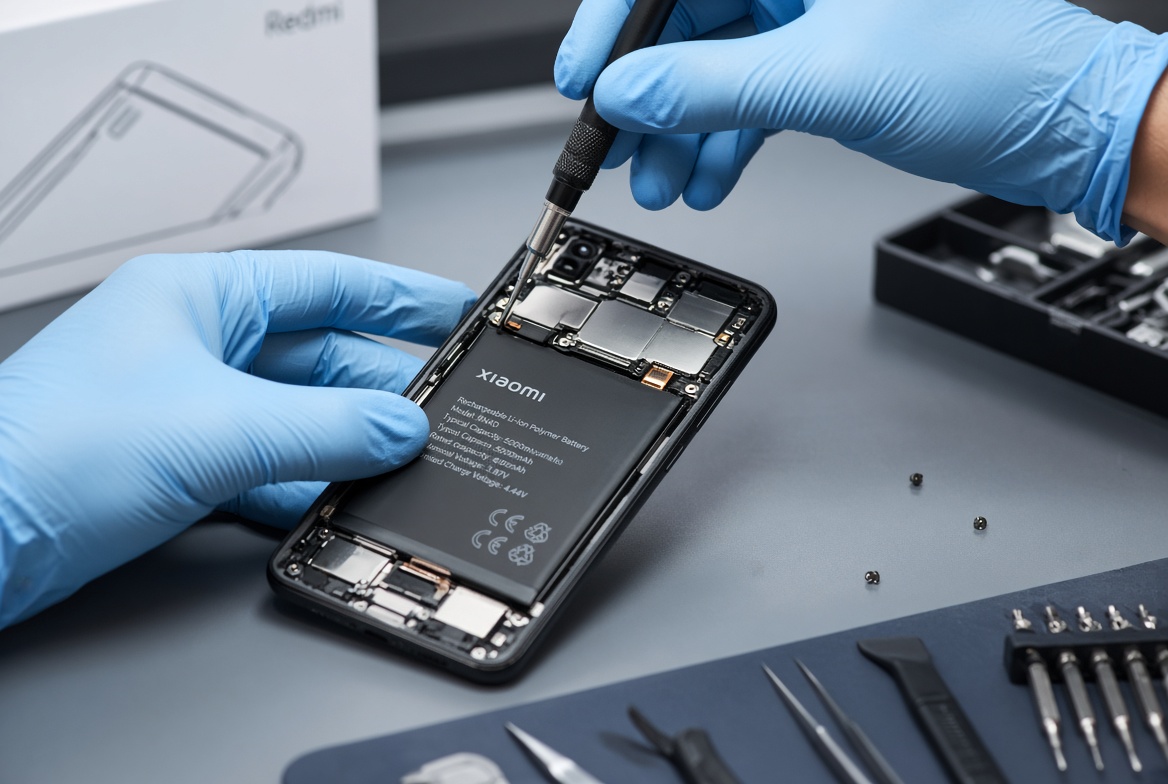
Accidentally dropping your smartphone into a pool, toilet, or a glass of water is one of the most stressful common accidents, and knowing how to fix phone after it was dropped in water can mean the difference between a fully functional device and a costly replacement. According to the Consumer Electronics Association, nearly 25% of all smartphone damage claims stem from water exposure, making quick, correct action essential to salvage your phone. Many people make the mistake of trying to turn the device on or plug it into a charger immediately after the drop, which often leads to dangerous short circuits that permanently ruin internal components, so following a structured step-by-step process is key to improving your chances of recovery.
Immediate Post-Drop Steps: The First 5 Minutes Matter Most
The first few minutes after your phone comes into contact with water are the most critical for salvage, as moisture can spread to internal circuits quickly. The first rule is to avoid any action that could push water deeper into the device or cause a power surge.
Turn Off Power Immediately (No Exceptions)
Even if your phone appears to be working after the drop, never press the power button repeatedly or wait to turn it off. Hold the power button for 3-5 seconds until the device fully shuts down; if the screen is unresponsive, remove the battery (for older models with removable batteries) to cut power entirely. Leaving a phone powered on while wet increases the risk of a short circuit that can destroy the logic board, the most expensive part of a smartphone to replace.
Remove External Accessories and Loose Parts
Take off your phone’s case, screen protector, and any attached pop sockets or grips right away. If your phone has a removable SIM card or microSD card, gently pop these out with your fingernail or a SIM tool – this allows water to drain from the slots and prevents corrosion on the card pins. For waterproof phones rated IP67 or IP68, removing accessories still helps speed up drying, as ports and crevices can trap water even in sealed devices.
Effective Drying Techniques to Eliminate Moisture
Once you’ve turned off your phone and removed external parts, the goal is to remove all moisture from inside the device without causing damage. Many old myths about drying phones persist, so it’s important to stick to methods that are proven to work.
Silica Gel Packs: The Best Drying Solution
Silica gel packs, often found in new electronics, shoes, or medication bottles, are far more effective than rice for drying a wet phone. These packs absorb moisture 3-4 times faster than uncooked white rice, and they don’t leave small grain particles that can clog ports or damage internal components. If you don’t have spare silica gel packs, you can order small, food-grade desiccants online for a low cost, or use those from a newly purchased pair of shoes as a temporary solution.
What Drying Methods Should You Avoid?
Many people turn to heat sources like hair dryers, ovens, or sunlight to dry their phones, but these can do more harm than good. Hair dryers on high heat can melt adhesive seals around the display or push water deeper into the device through ports, while ovens or microwaves can ignite the phone’s lithium-ion battery, creating a fire risk. Direct sunlight for extended periods can also fade the display or damage the battery’s long-term capacity, so stick to cool, passive drying methods.
- Do use a sealed airtight container (like a plastic Tupperware) to hold your phone and desiccants – close the lid completely to create a moisture-free environment
- Do leave your phone in the desiccant container for 24 to 48 hours, depending on how long it was submerged and the type of water (saltwater will take slightly longer than tap water)
- Don’t use rubbing alcohol to clean internal parts – it can dissolve adhesive or corrode sensitive metal connections
- Don’t shake your phone vigorously to remove water, as this can push moisture into small internal components or loosen parts
- Don’t plug your phone into a charger during the drying process, even if it appears dry – wait at least 48 hours to test charging
When to Repair vs. Replace a Water-Damaged Phone
After the drying period, you’ll want to test your phone to see if it works, but some cases require professional assessment to avoid hidden damage. Knowing when to seek help can save you from losing all your data or wasting money on unnecessary DIY fixes.
Signs You Need Professional Repair Instead of DIY
If after 48 hours your screen won’t turn on, buttons are unresponsive, or there’s visible rust around the charging port or SIM slot, it’s time to contact a professional repair technician. Another red flag is if your phone was submerged in saltwater or sewage, as these contain minerals that can cause severe corrosion quickly – a technician will use an ultrasonic cleaner to remove mineral buildup that’s not visible to the naked eye.
Data Recovery: A Key Consideration for Water-Damaged Phones
Even if your phone’s hardware is damaged, many professionals offer data recovery services that can retrieve photos, contacts, and messages from the internal storage. For iCloud or Google Drive users, you may already have backups, but if not, data recovery can cost $100-$300 depending on the damage, which is often cheaper than replacing a high-end smartphone like the iPhone 15 or Samsung Galaxy S24.
Preventive Measures to Avoid Future Water Damage
The best way to deal with a wet phone is to avoid the situation entirely, and there are affordable steps you can take to protect your device from water exposure. A waterproof case rated IP68, which can be submerged up to 6 feet for 30 minutes, is a small investment that can save you hundreds in repair costs. You can also add a water-resistant screen protector or a nano-coating, which creates a thin protective layer that repels water without changing the feel of your screen. For frequent swimmers or people who work near water, a dedicated waterproof phone pouch for outings or jobs is another simple way to prevent accidents.
To sum up, how to fix phone after it was dropped in water relies on quick, careful action: turn off power immediately, remove external parts, dry with desiccants, and wait at least 48 hours before testing or charging. For severe submersion, saltwater exposure, or signs of corrosion, professional repair is the safest choice, while small, passive drying methods work for minor water exposure. By following these steps and taking preventive measures, you can drastically improve your chances of salvaging your phone and preserving your valuable data.
Everything above about “how to fix phone after it was dropped in water” is originally written by our editorial team. Reproduction is strictly prohibited.