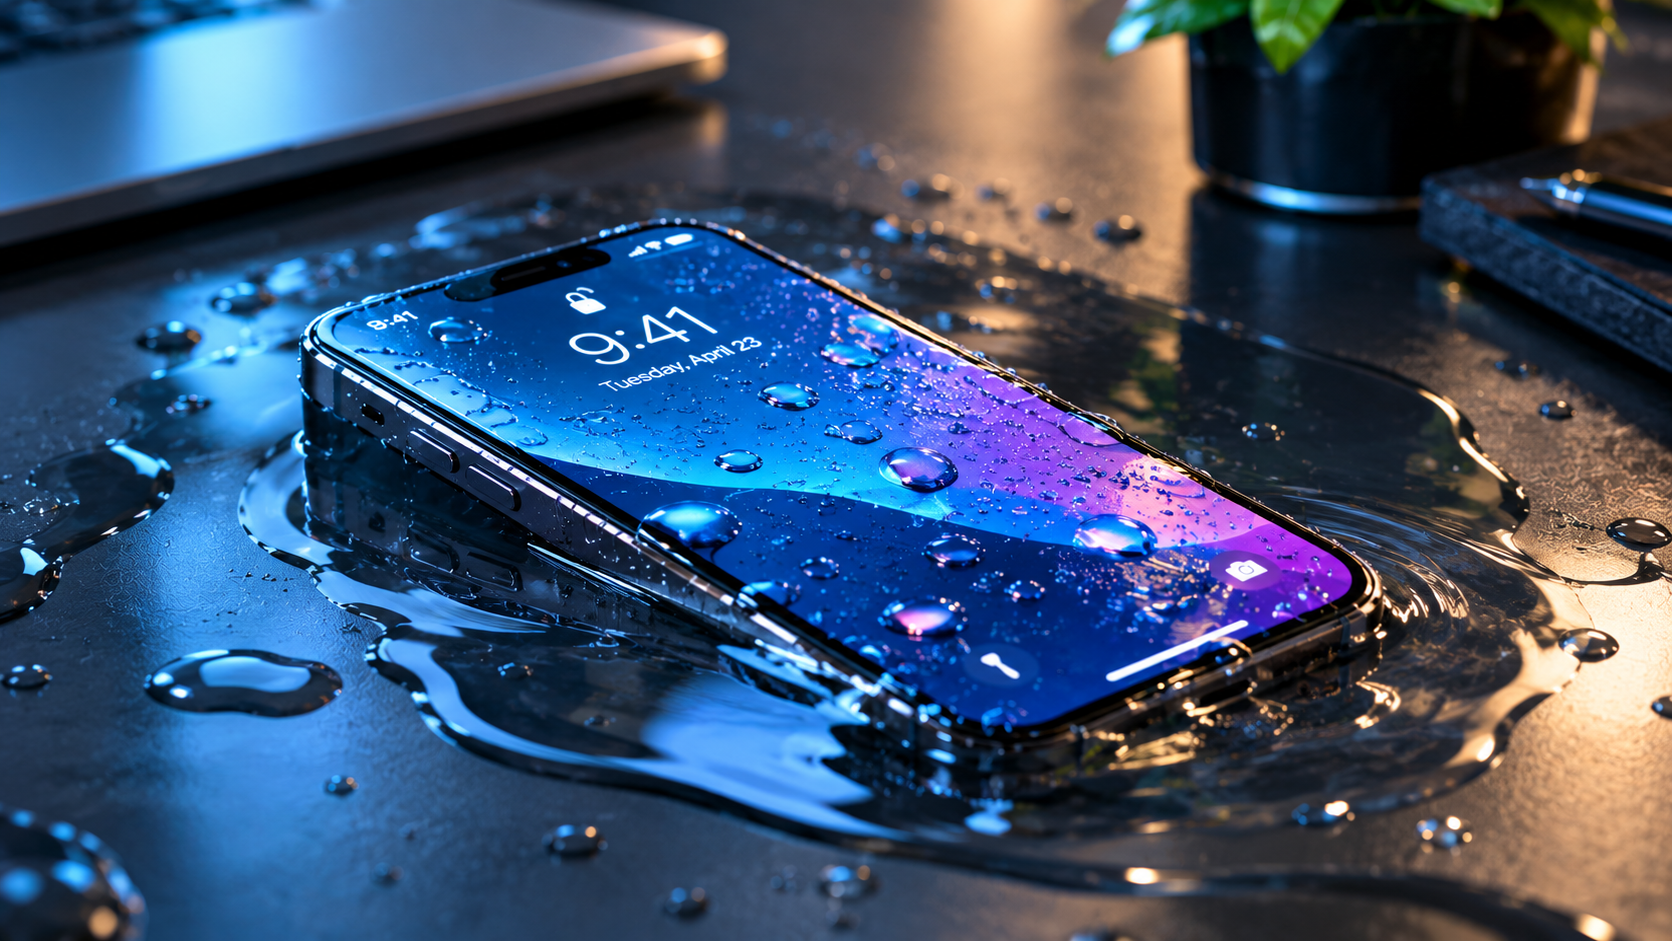
A dead or unresponsive iPhone is one of the most frustrating tech inconveniences, and effective iPhone won’t charge troubleshooting can help you resolve the issue quickly without costly repairs or unnecessary trips to a service center. Whether your device shows no sign of power when plugged in, charges only intermittently, or pops up a “not supported accessory” error, there are multiple actionable steps you can take at home to identify and fix the root cause.
Check Basic Charging Hardware Compatibility
Most charging issues stem from accessories that aren’t designed to work with your iPhone, according to Apple’s official support data. Over 75% of reported charging failures are linked to uncertified Lightning or USB-C cables, which often lack the authentication chips required to communicate with your device. These cables may fit the port but won’t charge properly, or trigger error messages that hide the real problem.
Test MFi-Certified Cables and Adapters
For best results, use an MFi (Made for iPhone) certified cable paired with a power adapter that matches your iPhone model: 20W USB-C adapters work for iPhone 8 and newer, while older models like iPhone 7 may use 12W or 5W adapters. Avoid counterfeit accessories, even if they look identical to Apple’s, as they can damage your device’s battery or charging port over time. If you don’t have a spare MFi cable, borrow one from a friend to test if that resolves the issue.
Confirm Your Power Source is Working
Laptop and desktop USB ports typically deliver only 2.5 to 5 watts of power, which is often insufficient to charge your iPhone—especially when the battery is completely dead. Always plug your charger directly into a grounded wall outlet, rather than a power strip or surge protector, to rule out faulty wiring. You can also test your charger with another compatible device to make sure the adapter isn’t broken.
Inspect and Clean the iPhone’s Charging Port
Over time, dust, lint, and pocket debris can build up inside your iPhone’s Lightning or USB-C port, creating a physical barrier between the cable’s connector and the internal charging pins. This is a top cause of intermittent charging, where the device sometimes registers the cable and charges, sometimes doesn’t. Before cleaning, power off your iPhone completely to avoid any risk of short-circuiting during the process.
Spot Visible Debris in the Port
Use a bright flashlight to look closely at the port’s interior. You may see small bits of lint, fabric, or dust that are blocking the connection. If you spot any obvious debris, you can safely remove it without professional tools, as long as you avoid damaging the delicate internal pins.
Safe Port Cleaning Steps
- Take a plastic toothpick (never use metal, which can bend or break pins inside the port) and insert it at a 45-degree angle into the port, gently scraping along the walls to dislodge lint
- Hold a can of compressed air upright (critical to prevent liquid from spraying) and blow short, 1-second bursts into the port to loosen and remove remaining debris
- Wiggle the cable slightly while it’s inserted to check if the connection improves, as bent pins inside the port can sometimes be nudged into proper alignment
- Avoid using cotton swabs, as their small fibers can leave lint behind that gets stuck deeper in the port and causes more issues
After cleaning, reinsert your cable firmly and wait 10-15 seconds to see if the iPhone recognizes the charger and starts charging. If not, move on to checking for software-related issues.
Fix Software Glitches and System Errors
Temporary system bugs or outdated iOS software can disrupt charging functionality, even when your hardware works perfectly. Apple frequently releases iOS updates to fix known bugs, including charging-related issues that affected iPhone users in versions like iOS 14 and iOS 15. To check for updates, go to Settings > General > Software Update—if an update is available, download and install it, then test charging again.
Another effective fix for minor glitches is a force restart, which clears temporary memory without deleting any of your personal data. The force restart process varies by iPhone model: for iPhone 8 or later (including iPhone 14, 13, 12), press and quickly release the Volume Up button, then the Volume Down button, then hold the side button until the Apple logo appears. For iPhone 7 and 7 Plus, hold the Volume Down and side buttons for 10 seconds. For iPhone 6s and older, hold the Home and side buttons until the logo shows.
When to Seek Professional Help
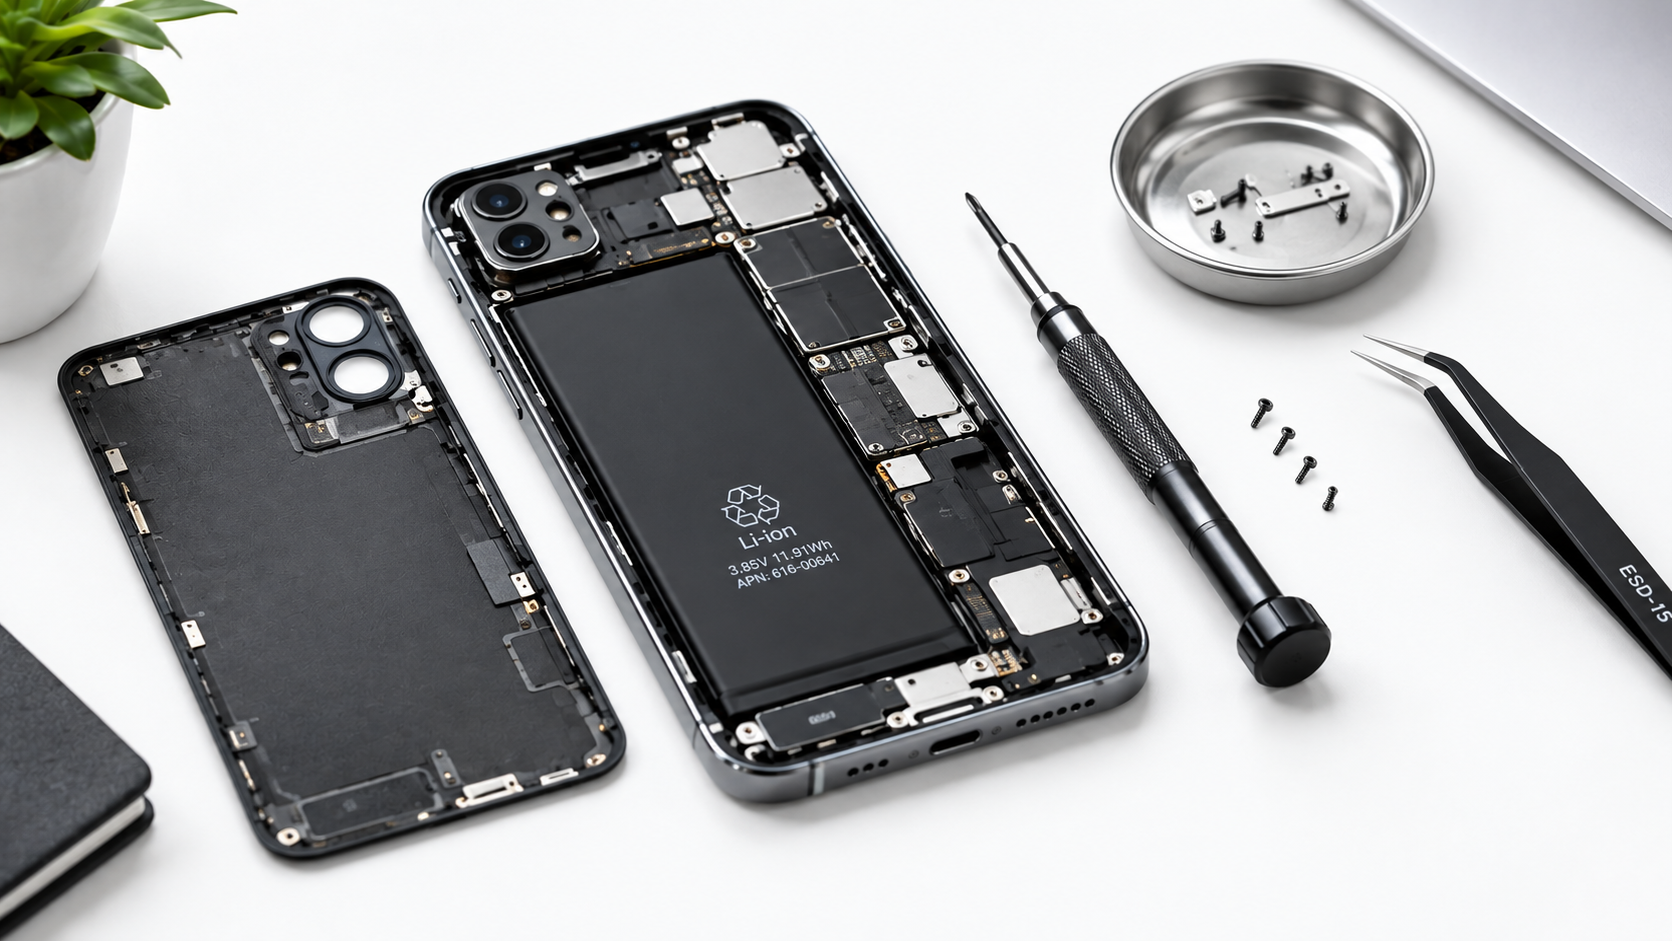
If all the above steps fail, the issue is likely hardware-related and requires professional inspection. Common problems include a bent internal pin in the charging port, a damaged battery, or a faulty logic board. Attempting to repair these components yourself can void your iPhone’s warranty and cause permanent damage. Instead, contact Apple Support, visit an Apple Store, or use an authorized service provider to have your device checked.
If your iPhone is still under warranty or covered by AppleCare+, repairs may be free or offered at a discounted rate. For older devices that are out of warranty, compare repair costs to the price of a new iPhone—sometimes it’s more cost-effective to upgrade, but many hardware issues can be fixed for under $100.
iPhone won’t charge troubleshooting doesn’t have to be complicated. Start with the simplest checks: test a new MFi cable, plug into a wall outlet, and clean the charging port to rule out debris. If that doesn’t work, update your iOS software and force restart your device to clear temporary glitches. Most charging issues are resolved with these at-home steps, saving you time, money, and the stress of dealing with a dead device. Only when all these fixes fail should you reach out to a professional for hardware repairs.
Everything above about “iPhone won’t charge troubleshooting” is originally written by our editorial team. Reproduction is strictly prohibited.